
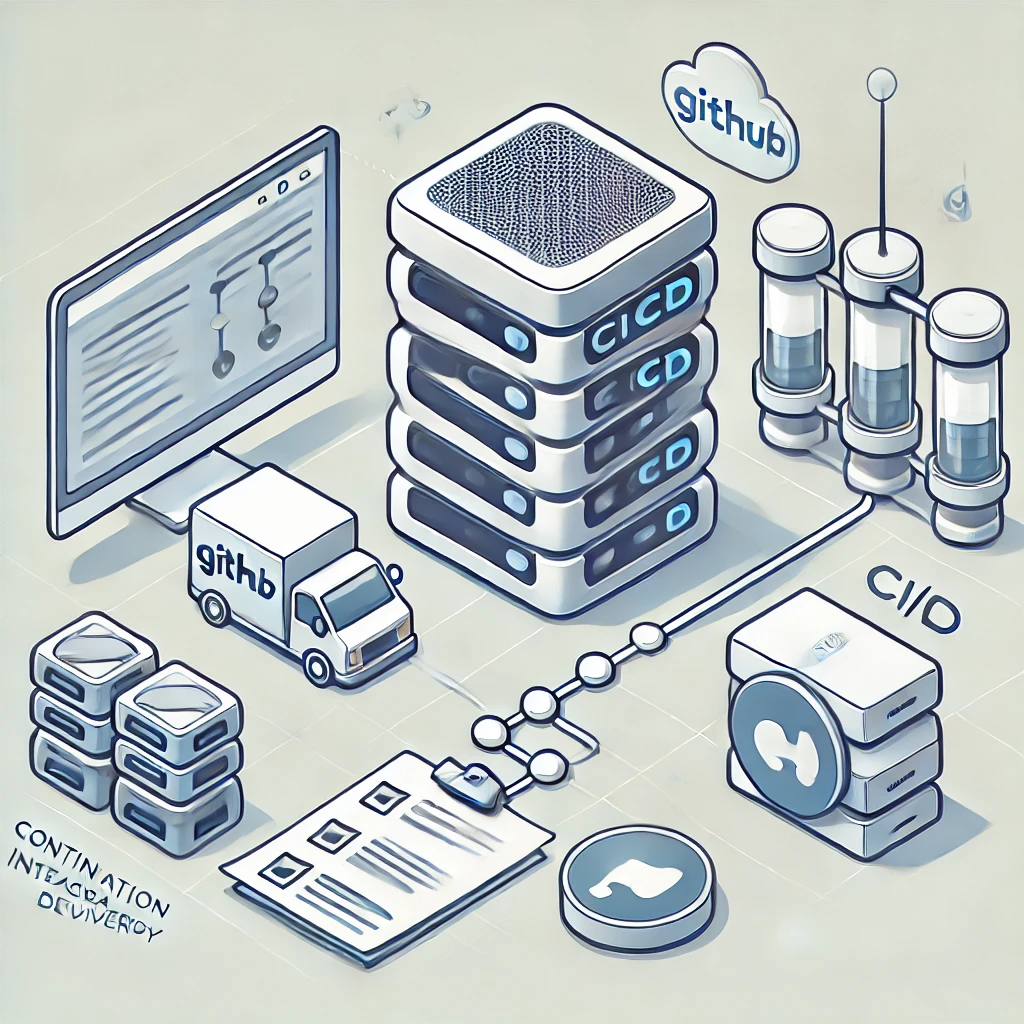
Advanced CI/CD Strategies Using GitHub Actions: A Comparative Guide for 2024
Explore advanced CI/CD strategies with GitHub Actions, and see how it compares to Jenkins and GitLab CI for efficient software delivery in 2024...
READ MORE
Oct 18, 2024
In modern development workflows, Continuous Integration and Continuous Deployment (CI/CD) are essential practices. GitHub Actions makes it easy to automate the deployment of your applications. In this guide, we’ll walk through how to set up a deployment pipeline for a Node.js project using AWS Elastic Beanstalk and GitHub Actions.
Before we can deploy to AWS, we need to create a user in the AWS Identity and Access Management (IAM) service with programmatic access:
Log in to the AWS Management Console: Go to the IAM section.
Create a New User:
Navigate to Users and click Add User.
Name your user (e.g., github-deploy).
For Access Type, select Programmatic access to generate an Access Key ID and Secret Access Key.
Assign Permissions: Attach the policy AWSElasticBeanstalkFullAccess to the user.
You can also attach other policies like AmazonS3FullAccess or AWSCodePipelineFullAccess depending on your needs.
Store Your Access Key: You will need the Access Key ID and Secret Access Key later. Store them securely in GitHub Secrets.
In your GitHub repository, you need to store the AWS credentials securely:
Go to Your GitHub Repository.
Navigate to Settings > Secrets and Variables > Actions.
Add the following secrets:
AWS_ACCESS_KEY_ID: Your IAM user’s Access Key ID.
AWS_SECRET_ACCESS_KEY: Your IAM user’s Secret Access Key.
AWS_REGION: The region where your AWS resources are hosted (e.g., us-east-1).
Now, let’s create a GitHub Actions workflow file that will automatically deploy your Node.js app to AWS Elastic Beanstalk whenever changes are pushed to the main branch.
name: Deploy to AWS Elastic Beanstalk

# Trigger the workflow when code is pushed to the main branch
on:
  push:
    branches:
      - main

jobs:
  deploy:
    # Use the latest version of Ubuntu as the virtual environment
    runs-on: ubuntu-latest

    steps:
    # Step 1: Check out the code from the repository
    - name: Checkout code
      uses: actions/checkout@v2

    # Step 2: Set up Node.js environment
    - name: Set up Node.js
      uses: actions/setup-node@v2
      with:
        # Specify the version of Node.js (version 14 in this case)
        node-version: '14'

    # Step 3: Install the project's dependencies listed in package.json
    - name: Install dependencies
      run: npm install

    # Step 4: Build the project (if applicable)
    - name: Run build
      run: npm run build

    # Step 5: Deploy the project to AWS Elastic Beanstalk
    - name: Deploy to AWS Elastic Beanstalk
      # Pass AWS credentials stored in GitHub Secrets as environment variables
      env:
        AWS_ACCESS_KEY_ID: ${{ secrets.AWS_ACCESS_KEY_ID }}
        AWS_SECRET_ACCESS_KEY: ${{ secrets.AWS_SECRET_ACCESS_KEY }}
        AWS_REGION: ${{ secrets.AWS_REGION }}
      run: |
        # Initialize the Elastic Beanstalk application with Node.js platform
        eb init -p node.js my-app --region $AWS_REGION
        # Deploy the application to Elastic Beanstalk
eb deployHere is a more detailed explanation of the workflow configuration:
name: Deploy to AWS Elastic Beanstalk: This sets the name of the workflow, which will be displayed in the GitHub Actions tab.
on: push:: Specifies that the workflow will trigger whenever code is pushed to the main branch.
jobs:: Contains all the steps for this workflow, organized as a job.
runs-on: ubuntu-latest: Defines that the workflow will run on a virtual machine with the latest Ubuntu operating system.
steps:: Each action in the workflow is listed under steps:
Checkout code: Uses the actions/checkout@v2 action to clone the repository.
Set up Node.js: This step installs the specified Node.js version (v14) using actions/setup-node@v2.
Install dependencies: Runs npm install to download and install project dependencies from package.json.
Run build: Executes npm run build to compile and bundle the project.
Deploy to AWS Elastic Beanstalk: This step deploys the application to AWS using the Elastic Beanstalk CLI (eb). It initializes the application, passing the platform (node.js), and runs the eb deploy command to push the changes.
Once your workflow is set up and pushed to GitHub, GitHub Actions will automatically run this workflow every time code is pushed to the main branch. You can monitor the progress in the Actions tab of your repository.
If everything is configured correctly, your application will be deployed to AWS Elastic Beanstalk without manual intervention.
With this setup, you now have an automated CI/CD pipeline that deploys your Node.js application to AWS Elastic Beanstalk using GitHub Actions. This saves you time and ensures your application is always up-to-date with the latest changes. Continuous integration and continuous deployment are critical for maintaining modern software projects, and with tools like GitHub Actions and AWS, it’s never been easier to set up.
Now, you can focus more on building great features for your app while GitHub Actions takes care of the deployment!
Follow PosterumSoft on LinkedIn: linkedin.com
Follow PosterumSoft on X: x.com
Follow us on Medium: medium.com
Check PosterumSoft on Upwork: upwork.com
Explore advanced CI/CD strategies with GitHub Actions, and see how it compares to Jenkins and GitLab CI for efficient software delivery in 2024...

Learn how to choose the right IT partner for outsourcing development to ensure the success of your software projects and business growth...